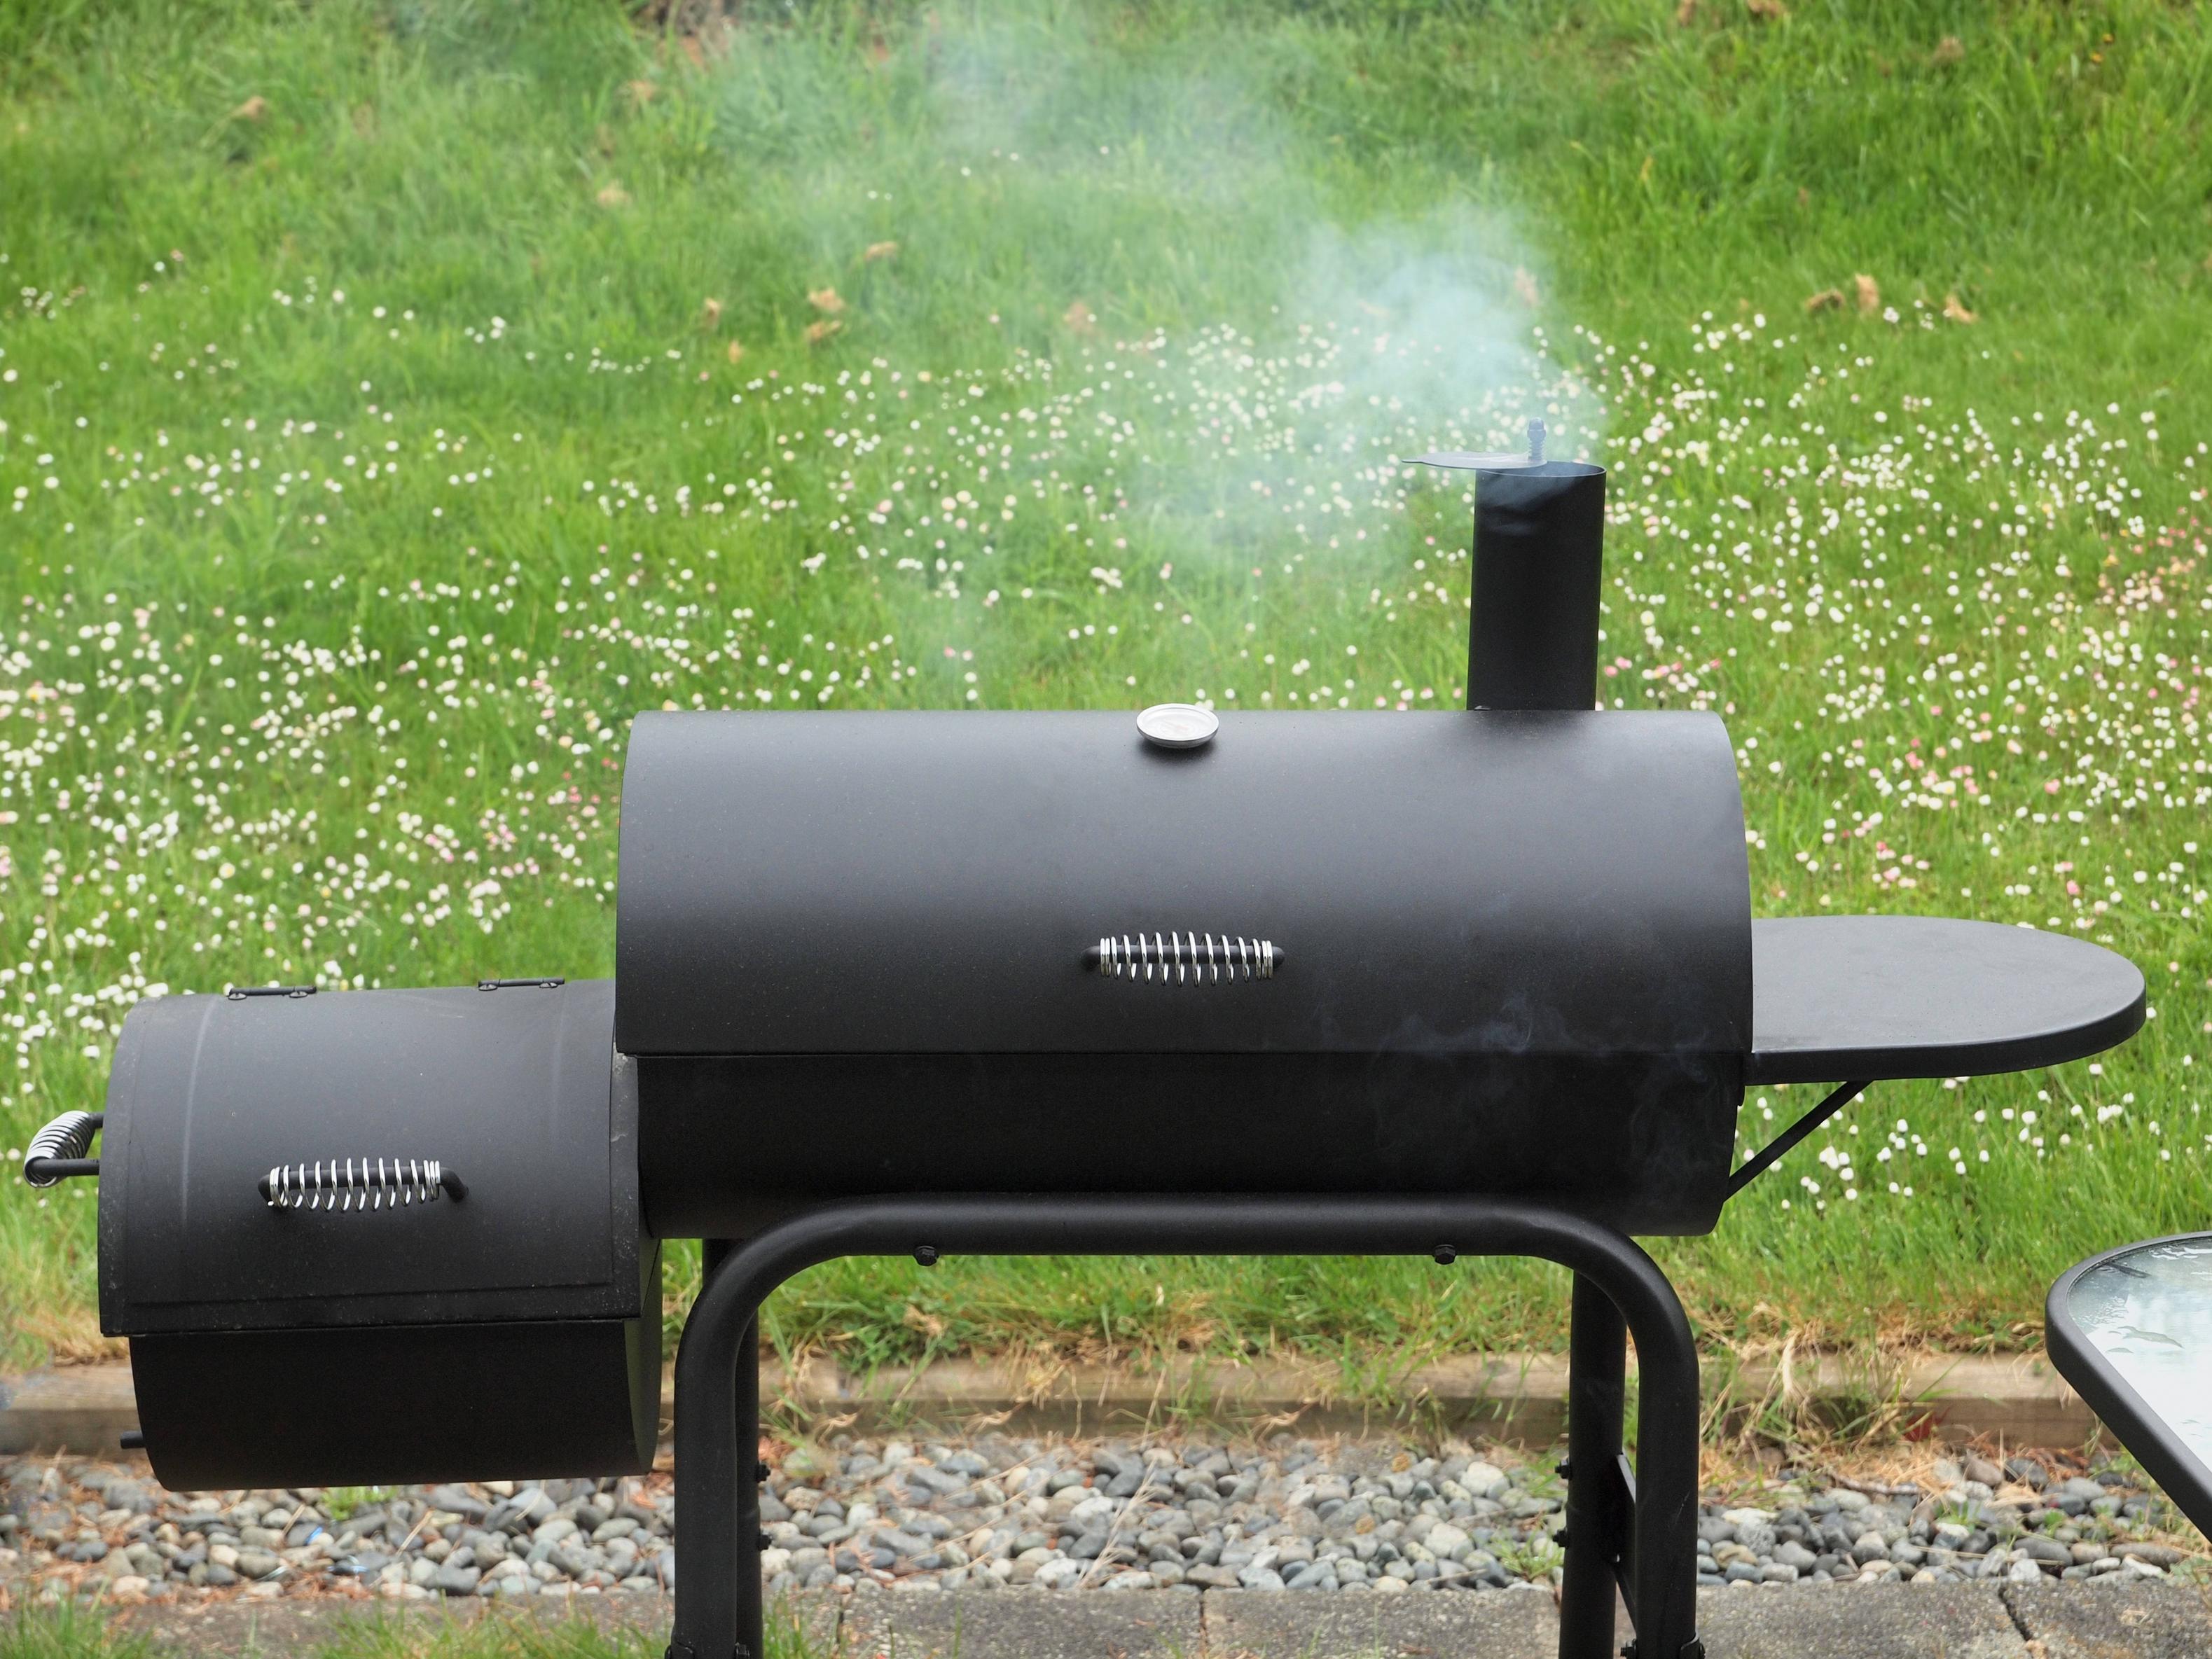
There are some simple tips for charcoal grilling. You can prevent flare-ups by cleaning your charcoal grill after each use. Also, make sure to store it away when it is not being used. You'll soon become known as the "Charcoal Queen" and "Charcoal Kings". Although you probably won't end up writing a best-selling cookbook about your barbecue skills, you'll surely win praise from friends and family.
The first thing to remember is to preheat your grill. For help lighting a charcoal barbecue grill, check out our tips. Before placing food on your charcoal grill, you should allow it to heat up for approximately five to ten mins. The food should cook evenly when it hits its grates. Clean charcoal will ensure the best results. You can clean the grill by removing the ash from it and cleaning it thoroughly.
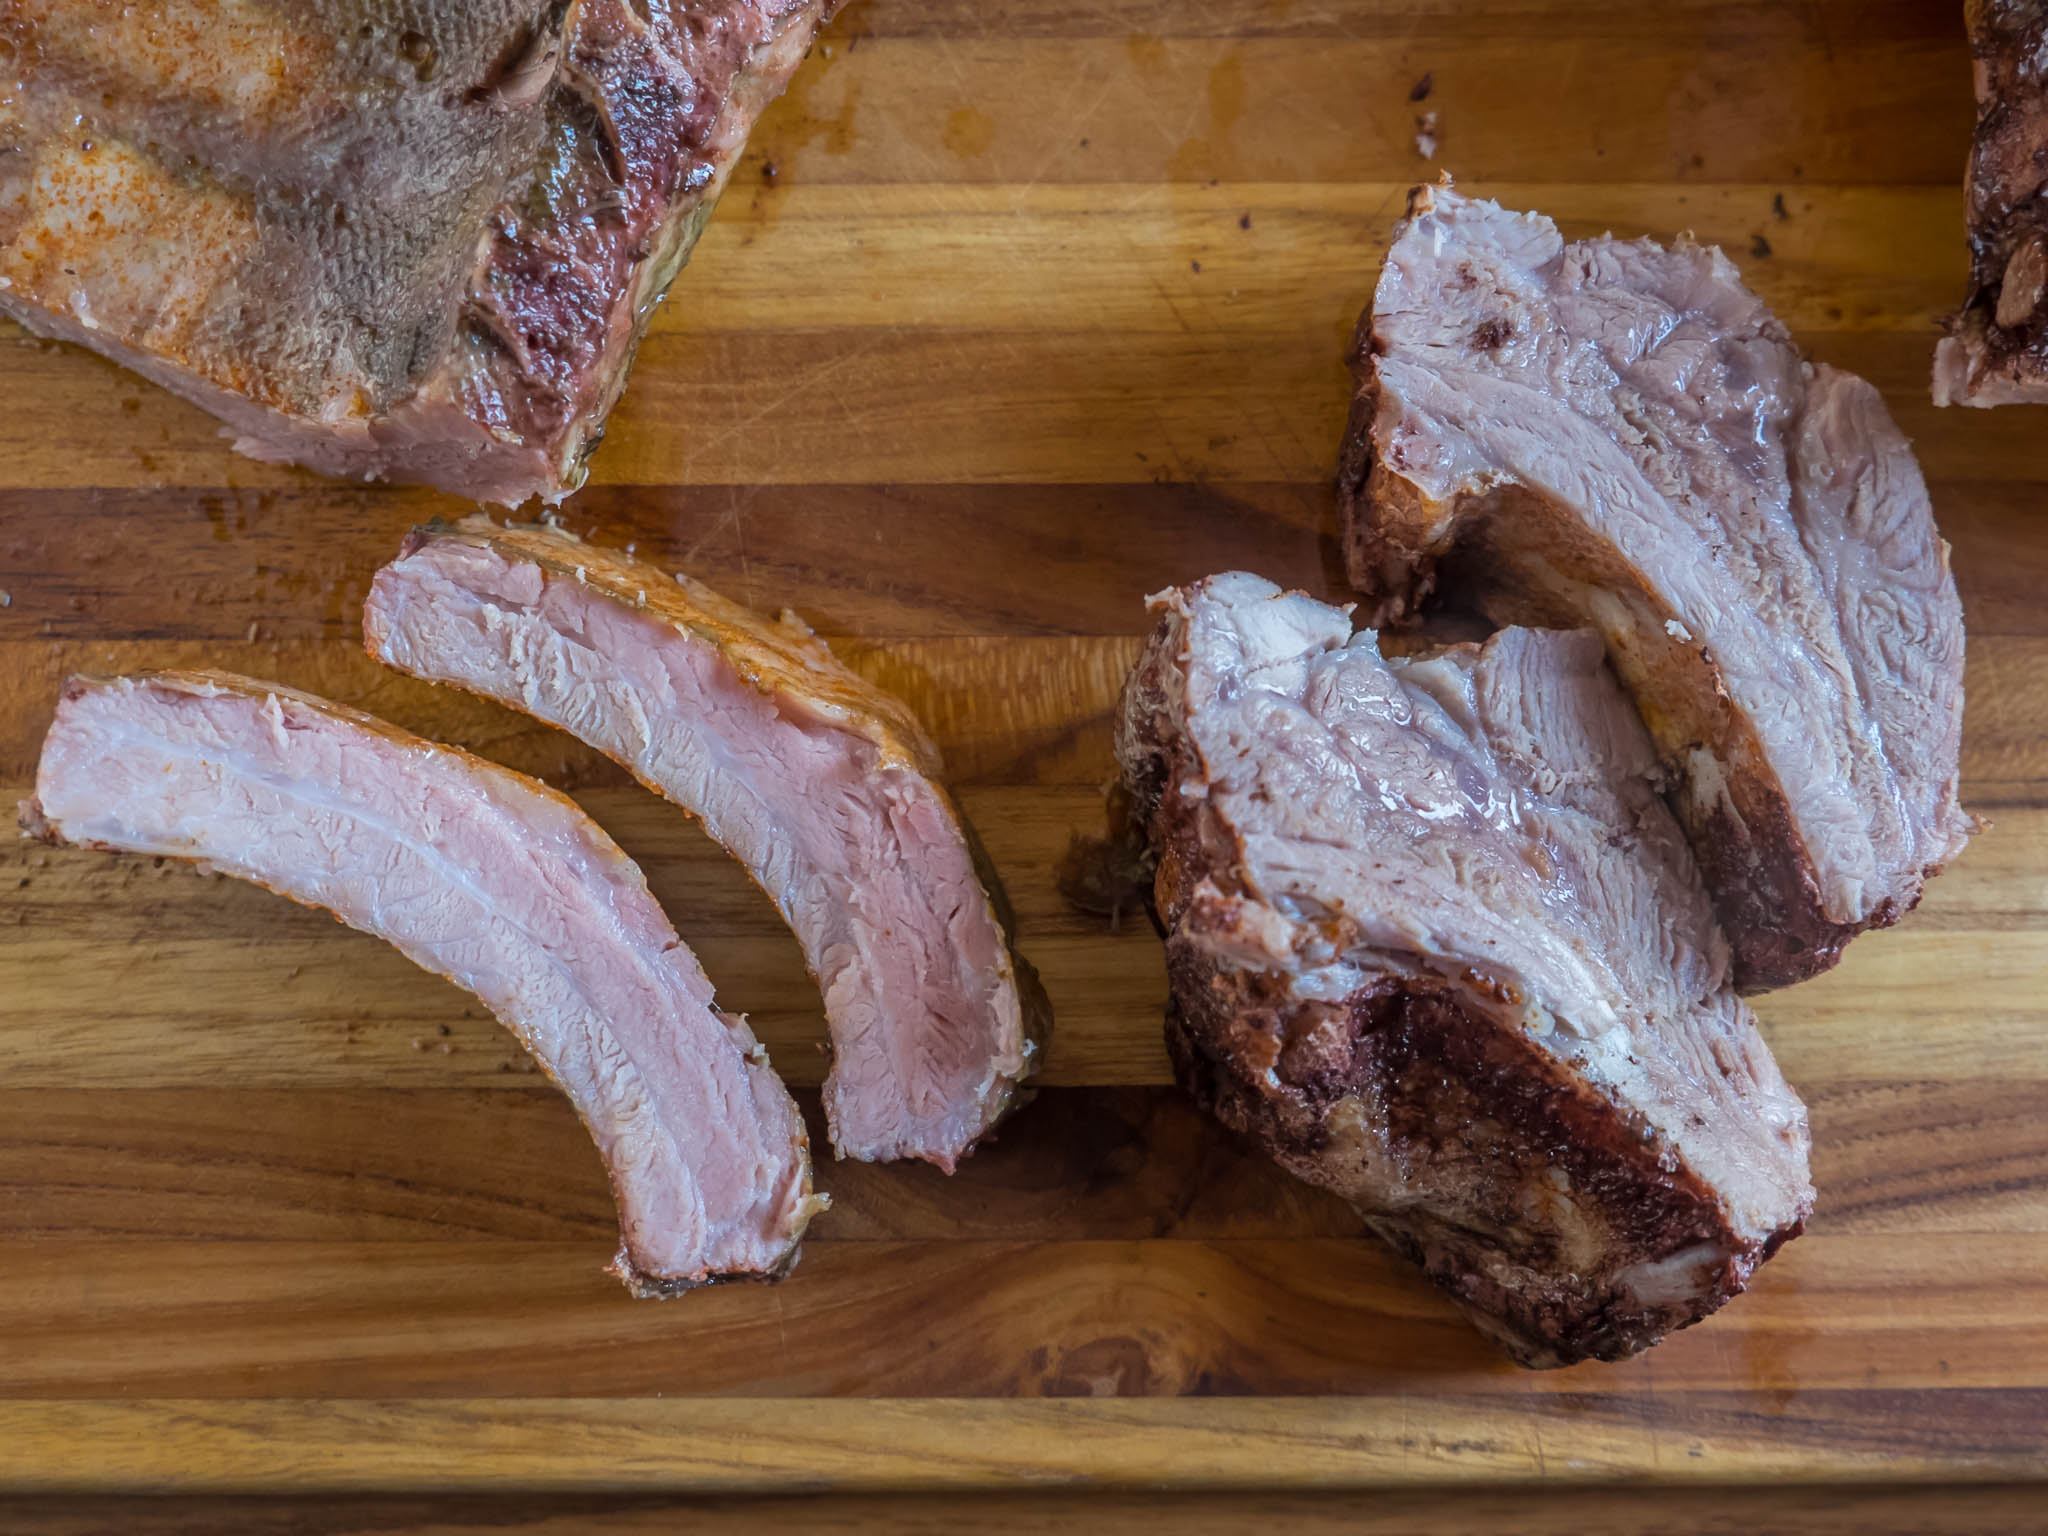
To add smoke flavor to charcoal cooking, you can use many woods. Dry wood chunks make great grilling ingredients at lower temperatures. Different types of wood can be used if you have concerns about flare-ups. If you cook at high temperatures, wood chips will work well. But, be sure to soak them in advance.
Open the lid when using charcoal to cook. It's more difficult to control closed grills than open ones. Additionally, charcoal can be flammable so you should use fireproof gloves. You can also buy a chimney to use with your charcoal for a more efficient and practical grill. A chimney can easily be purchased at any BBQ equipment store.
Grilling charcoal with charcoal requires that you don't overload the grill. If you cook in a smaller space, you will burn more charcoal. The coals must be evenly distributed. You'll want to be sure to keep the charcoal in a confined space. You can place heavy objects, such as a plate or pan, on the grill to help prevent fire.
Also, open the charcoal grill vents for more airflow. This will help the fire burn evenly. It is simple to light a fire using a wooden spoon or a spade. However, it is important to clean the grates to avoid pests and to ensure they don't catch fire. It is best to not eat directly from the grill. This could spread the flames into other areas of your kitchen.
Before you start cooking, use a charcoal chimney. It must have two sections. The chimney must be covered. The paper should be placed in the chimney's bottom to prevent food from sticking. On the other hand, the top part of the chimney should have a hole in it for the vent. These two areas should be sealed. You can then remove the newspaper from the area and cook again.
FAQ
What is the cost to study culinary arts?
You will find that the price to study culinary arts is variable. A four-year degree in culinary arts typically costs around $40,000. On the other hand, a two-year associate's degree may cost less than $5,000. The type of program you choose will determine the tuition rates. The prices charged by private institutions are generally higher than the public.
What is the cost of a culinary school?
Culinary school costs vary depending on where you go, how long you study, and what program you choose. The average tuition cost is $10,000-$30,000 annually. Most students graduate with about $20,000 in debt. Some programs offer scholarships, grants, or work-study opportunities.
What are the requirements to become a chef?
A bachelor's degree is required to become a chef. A series of tests must be passed by the ACF. A certificate will verify your qualifications once you have met all of these requirements.
How do I get motivated to cook?
Sharing meals with family and friends is the best part of cooking. It is easier to cook for yourself than for others. You can be inspired to cook if you try something new. This will allow you to discover new recipes and techniques. Additionally, you can learn about new ingredients and techniques by incorporating recipes from different cultures into your cooking.
What are the basics of cooking?
Basic cooking skills include reading recipes, measuring ingredients, cooking safely and cleaning up afterwards. These are the essential skills you will need to be able cook for yourself. Cooking is a great way save money as you don’t have to order take-out every day.
Do I require any special equipment?
No, you don't need any special equipment to learn to cook. The best tools will make cooking more enjoyable. For example, you could use a knife instead of a fork to eat pasta or a whisk instead of a hand mixer to whip egg whites into stiff peaks. Having the right tools makes cooking less intimidating and allows you to start faster.
Statistics
External Links
How To
How to make an omelet that is perfect
Omelets are my favorite breakfast dish. But how do you make them perfectly? Many different recipes and methods have failed to work for me. So today, I want to share some tips and tricks with you so you can make your own delicious and fluffy omelets every morning.
We should first know that eggs are very temperamental ingredients when making omelets. Eggs must be purchased fresh, preferably organic, and kept chilled until ready for cooking. If they are not kept cold enough, the whites won’t form properly. The yolks will also break down too quickly and become runny. This can make your omelets look bizarrely colored. It is best to use room-temperature eggs if you are going to cook them right away.
Another tip is to separate each egg before adding them to the saucepan. You don't want any white to get mixed up with the yolk because this could cause the omelet to curdle.
You might burn the bottom of the egg if you place the egg directly on the stovetop. This could ruin the texture of your omelet. Instead, put the egg in the microwave for 10 seconds before putting it into the pan. The microwave heat cooks the eggs just right without overcooking them.
Next, let’s talk about mixing the egg. Mix eggs well together. You need to turn the bowl of the mixer upside down. Then, vigorously shake the bowl. By doing this, the egg is thoroughly mixed with the air in the bowl.
Now comes the fun part - pouring the milk into the mixture. Fold the eggs in the milk mixture by first pouring half of it into the egg whites. Don't worry if there are still streaks of egg visible; these streaks will disappear once you flip the omelet.
After you have folded your eggs, heat up the oil on medium heat. Wait for it to get hot. Once the oil has gotten hot, add 1/4 cup of butter and swirl it around so that the entire pan is coated. Carefully open the pan's lid and add salt to the pan. An additional pinch of salt will prevent the omelet form sticking to your pan.
Once the omelet has formed, cover the pan again and wait for the top side to set completely. Flip the omelet by using a spatula. Cook the opposite side for another minute. Remove the omelet from the pan and serve immediately.
This recipe is best when used with whole milk. But, you can use skimmed milk as well.